
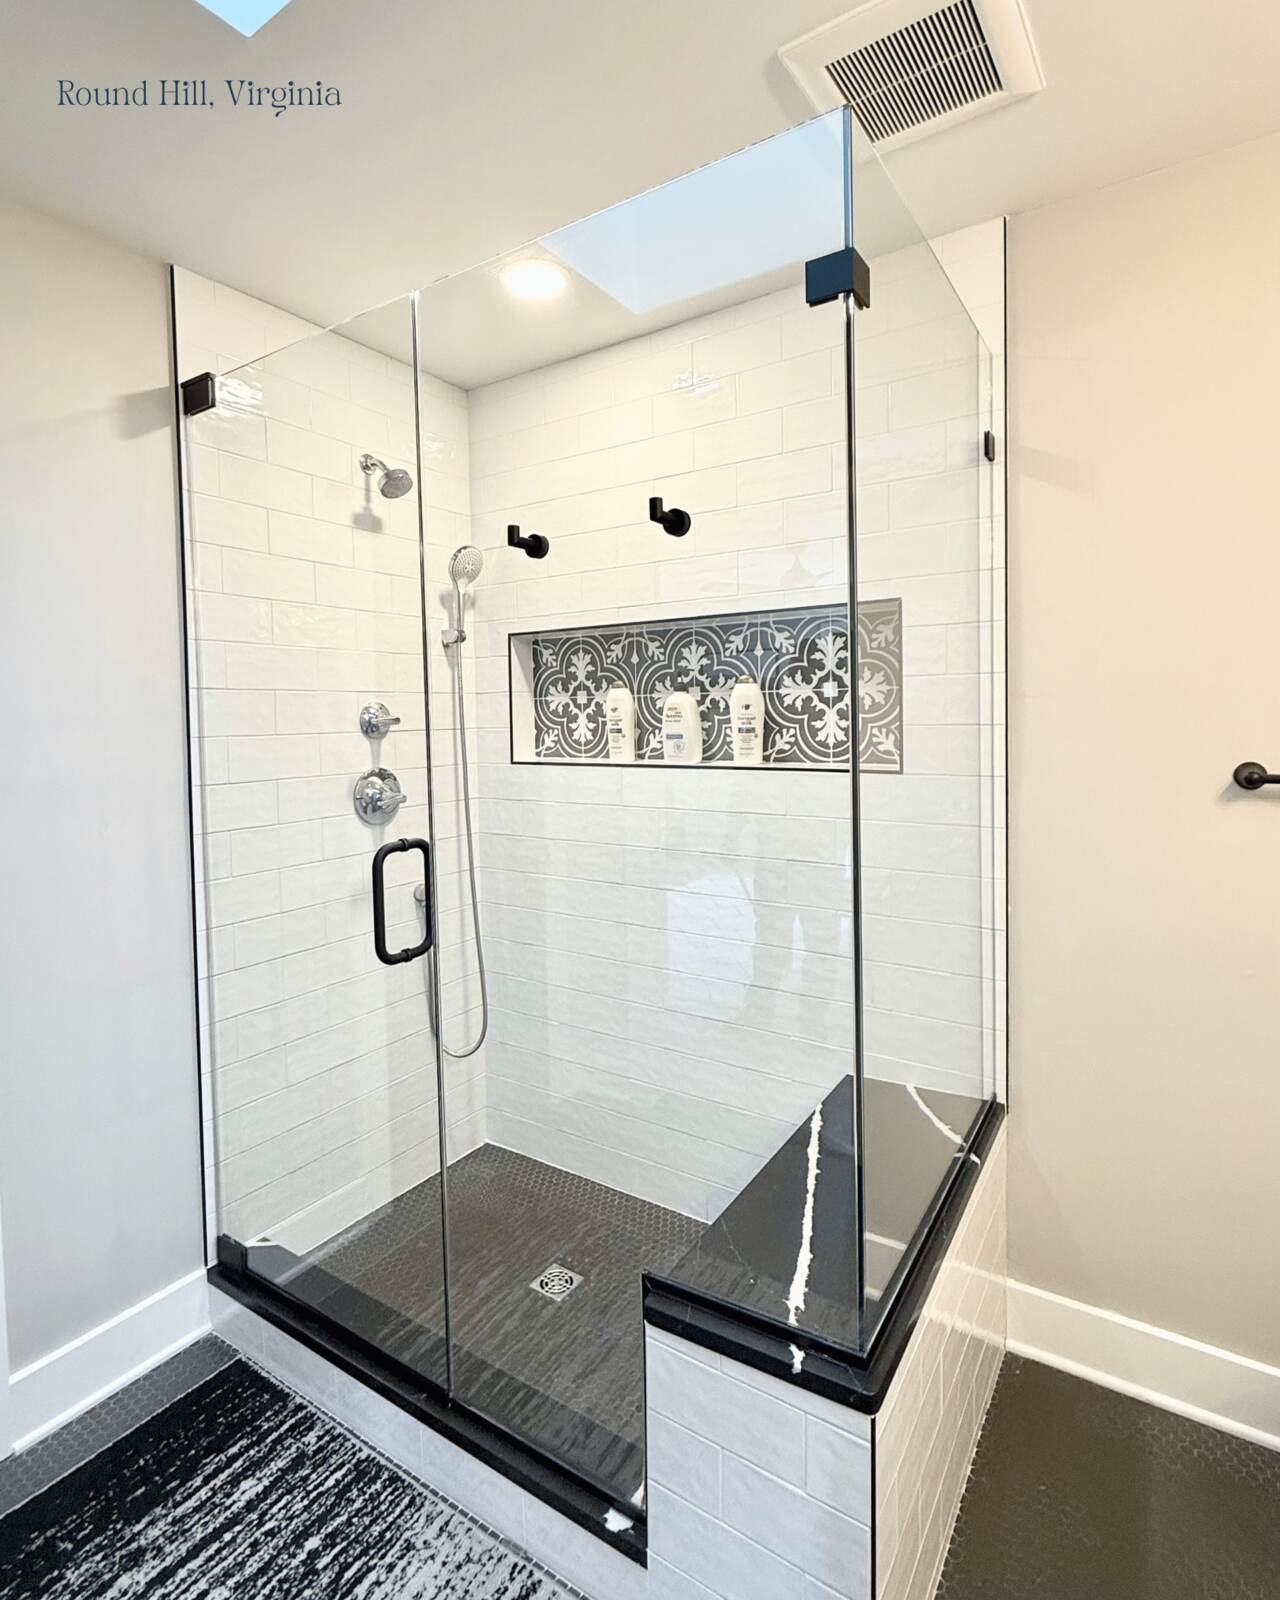

The right shower enclosure gives you a comfortable entrance, contains everyday spray, and fits around the rest of the bathroom. A door that looks good in a photo still needs to clear your vanity, work with your showerhead, and mount securely in your opening.
Most custom frameless showers use a few familiar configurations. Understanding those layouts makes it easier to explain what you want and spot a potential problem before the bathroom is finished.
Door and panel
A door-and-panel enclosure combines one operable door with one fixed piece of glass, usually across a straight opening between walls.
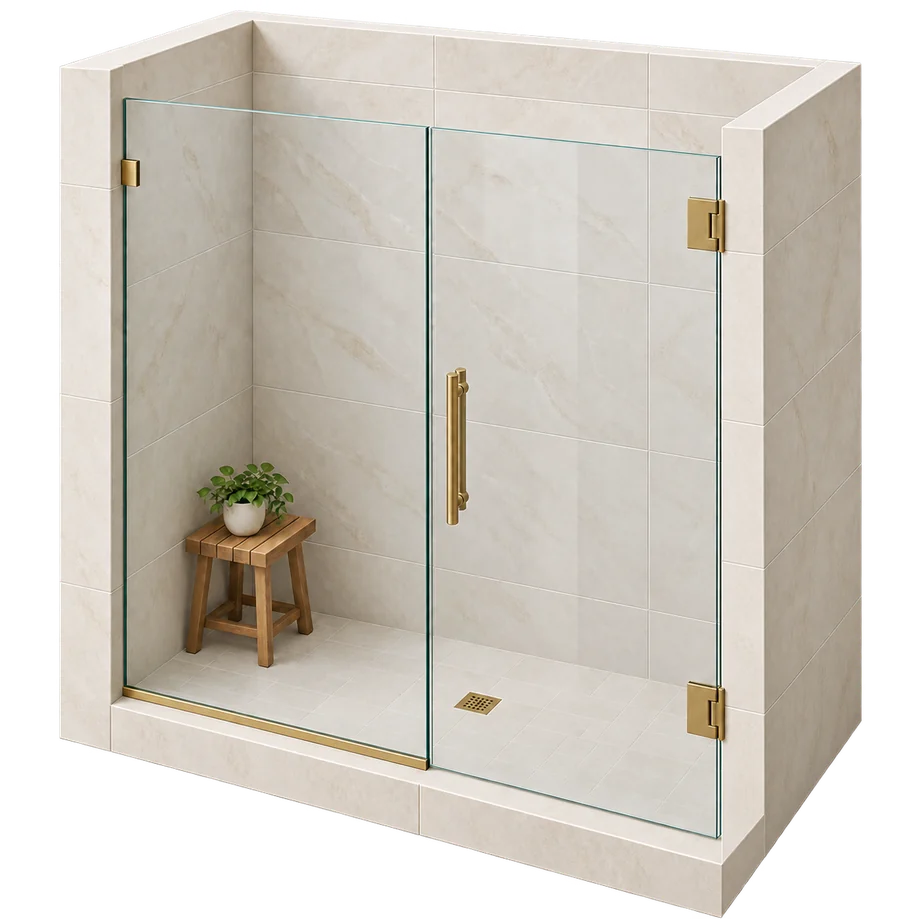
This is a good starting point for a straightforward shower. The fixed panel fills the part of the opening that does not need to move, allowing the door to be sized for comfortable use. Depending on the design, the door may hinge from a wall or from a suitably supported glass panel.
The main question is where the door should sit. We look at the shower controls, showerhead, nearby fixtures, and the space outside the opening. You should be able to enter without squeezing around a toilet or steering the handle past a countertop.
If there is no comfortable swing clearance, a slider or a revised layout may be a better choice.
In-line panels, including panels around a bench or knee wall
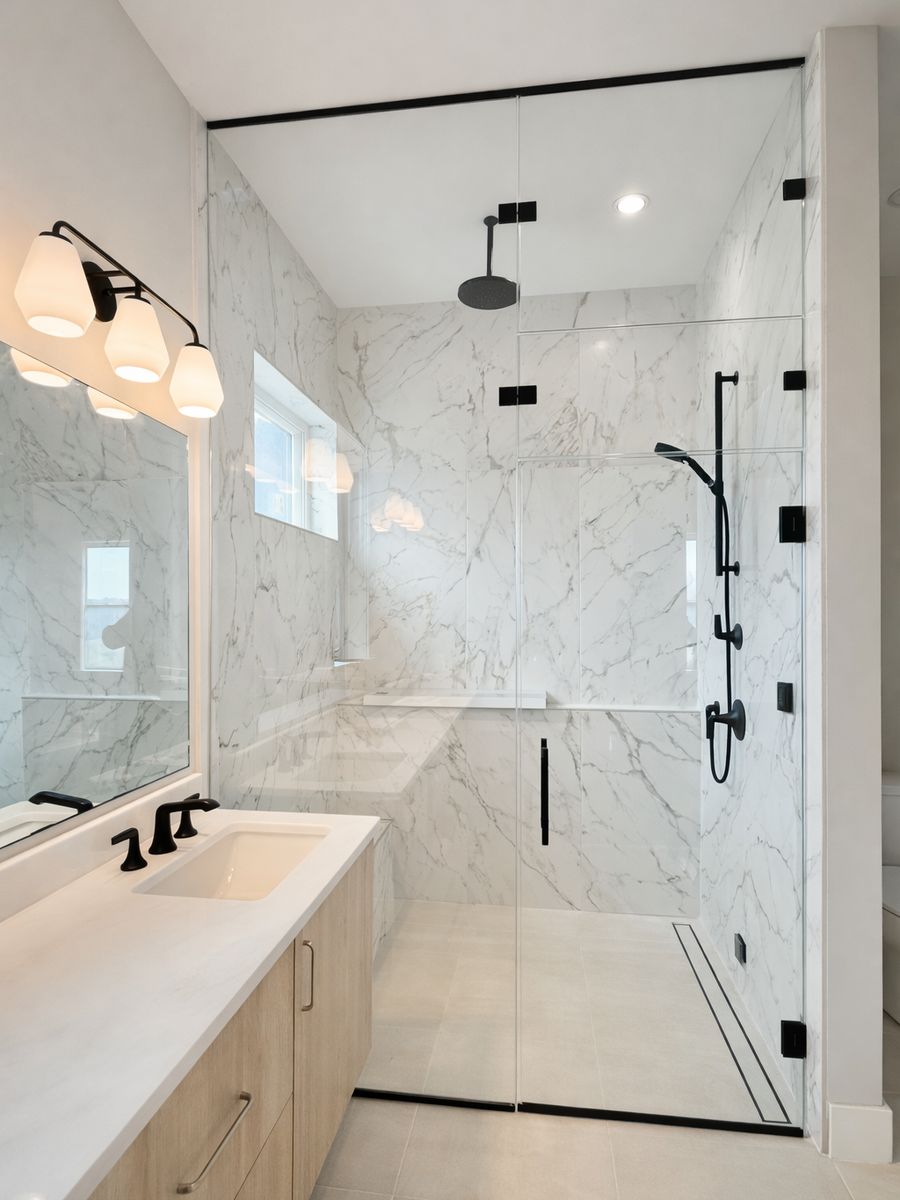
“In-line” means the glass sections sit along the same straight line. A panel / door / panel arrangement puts a fixed section on each side of the door and can help position the entrance within a wider opening.
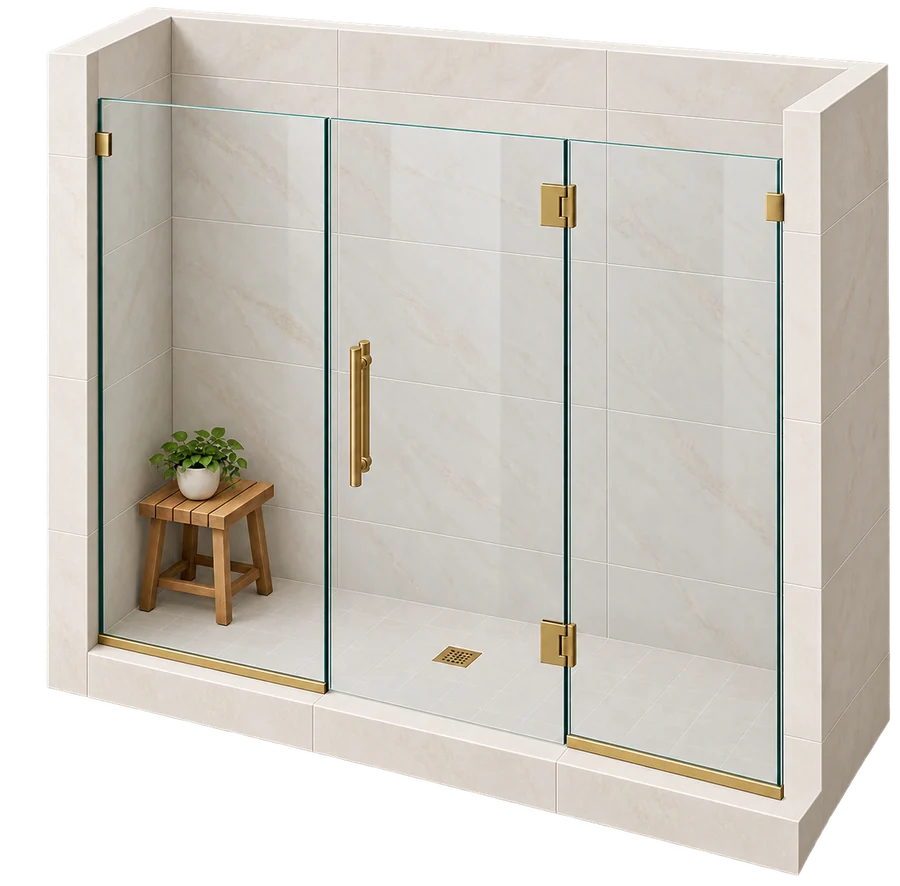
The fixed glass may also need to follow a bench or knee wall. That can mean a notched panel or a combination of separate pieces, depending on the design and fabrication requirements.
These details need to be settled using the finished stone and tile. A bench shown on a plan is not enough to determine the final glass shape, particularly if the cap overhangs its base.
Use this configuration when the opening or desired door position calls for it. Adding a second fixed panel purely for symmetry may introduce a glass joint and cost without improving how the shower works.
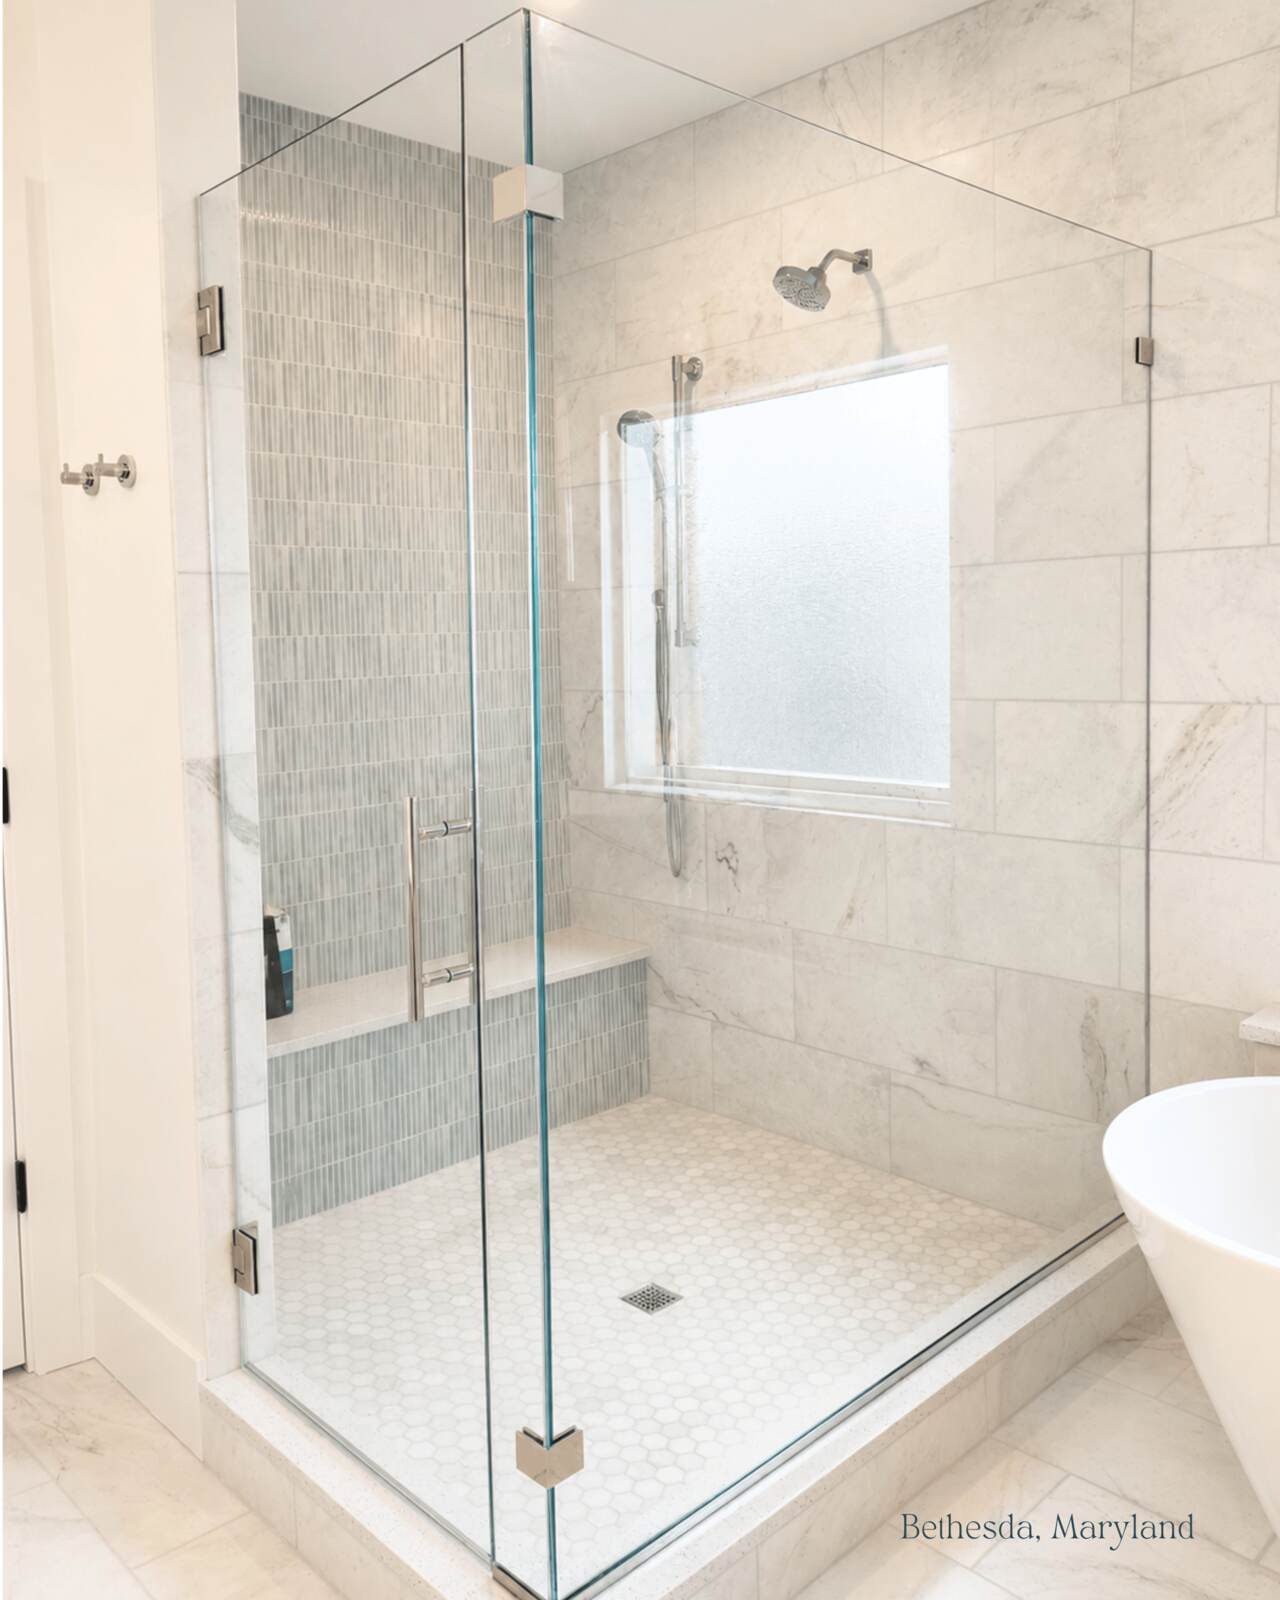
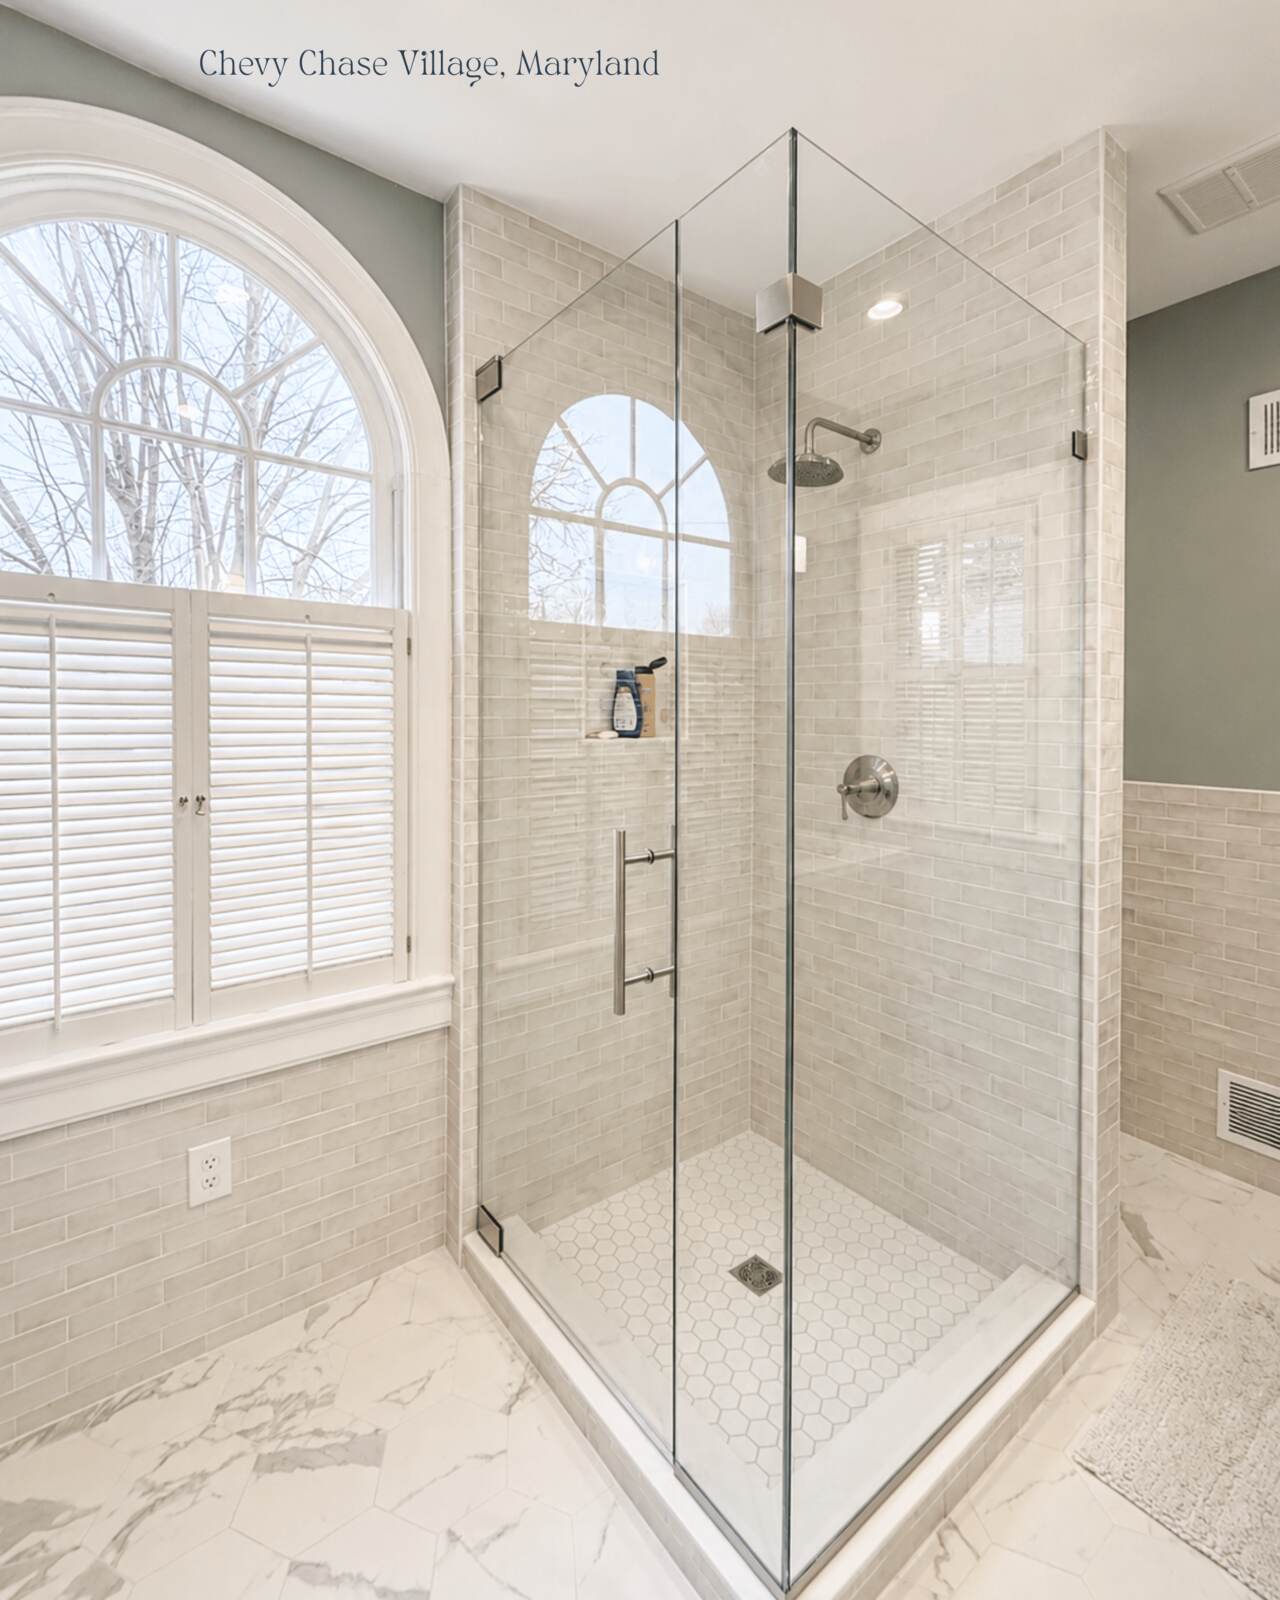
90-degree corner enclosure
A corner enclosure closes two open sides of a shower. The main door section meets a fixed return panel at a right angle.
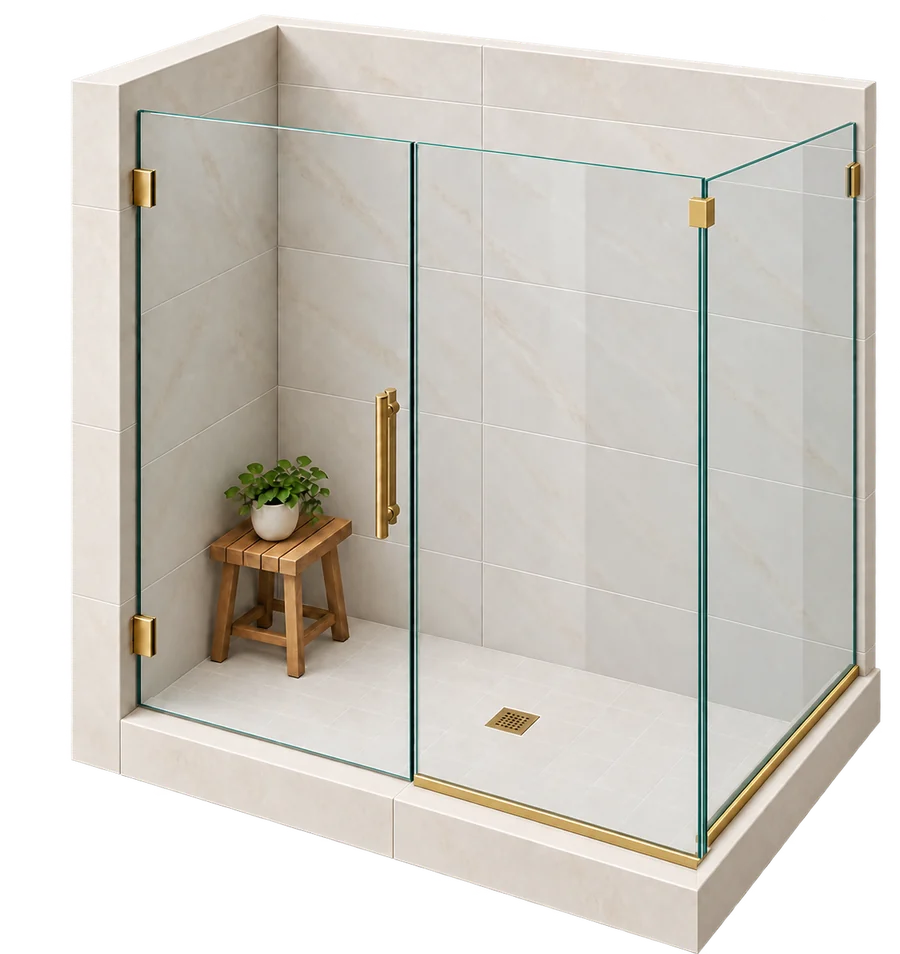
This layout lets a corner shower feel open to the rest of the room. It also makes panel support especially important. The return needs to meet the main enclosure correctly, and the entire arrangement needs to suit the chosen hardware.
The door does not have to occupy the whole front side. Its position and width should be selected around access and clearance. A towel bar or pull on the outside also needs room when the door opens.
If your design includes glass sitting on a knee wall, show us that detail early so the support and finished dimensions can be coordinated.
Neo-angle enclosure
A neo-angle shower typically has a door across an angled front opening, with fixed glass panels on either side. It is a familiar layout for corner showers where cutting off the front corner helps preserve bathroom floor space.
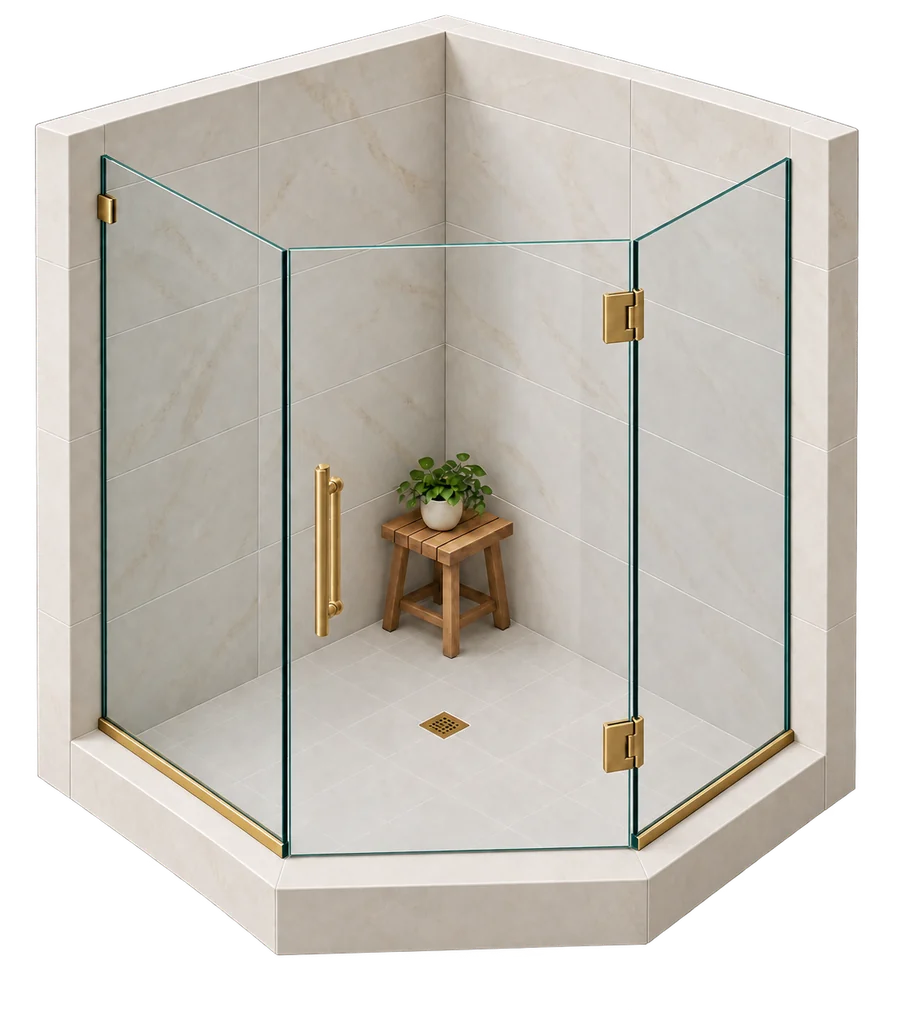
The trade-off is the shape of the usable space inside. A compact neo-angle base can feel tighter than its outside dimensions suggest, so consider where you will stand and how you will enter.
The actual angles also matter. We measure the finished opening rather than assuming the tile work follows an exact angle from a standard drawing. The glass and hardware need to match the built conditions.
Walk-in shower with a fixed spray panel
A fixed spray panel contains part of the shower while leaving an open entrance. There is no door to swing or slide.
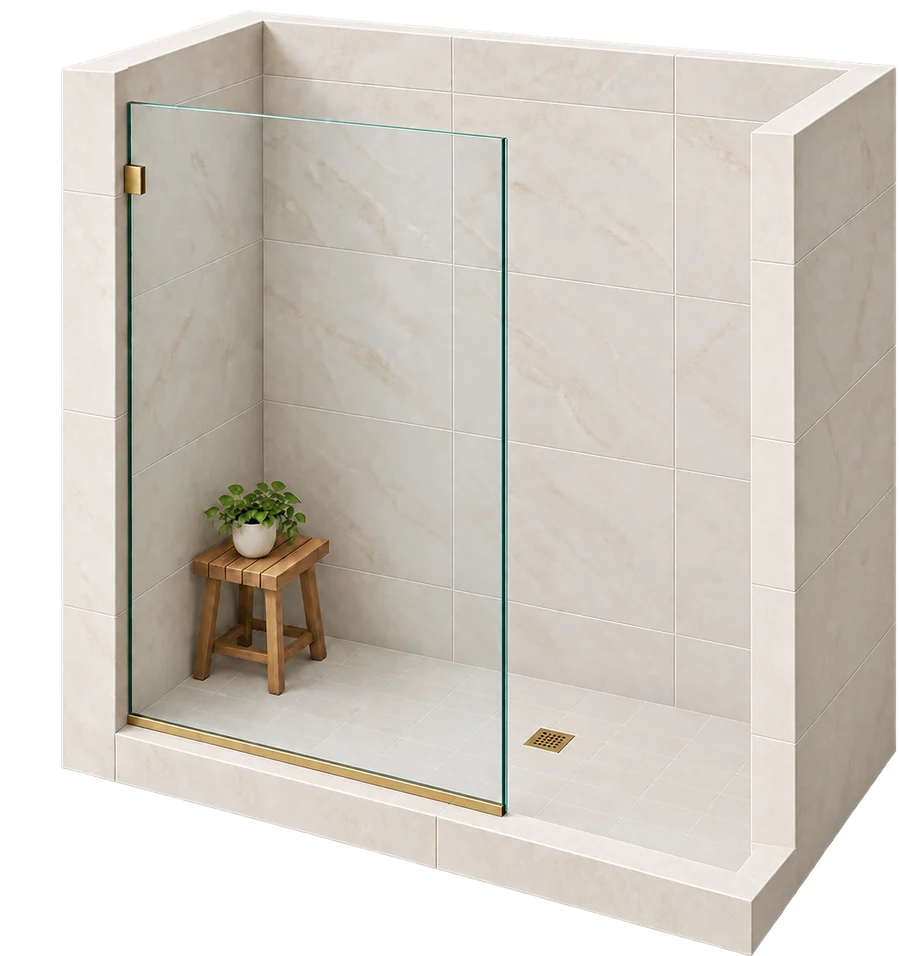
This can work well when the shower is large enough, the entrance is positioned carefully, and the showerhead directs water away from the opening. It can be a poor choice for a short shower with a spray pattern aimed toward the room.
Water containment depends on the whole design, including panel length, fixture placement, and drainage. Adding a fixed panel does not make an otherwise unsuitable shower reliably dry outside the opening.
There is also a comfort difference. An open shower can feel cooler because it does not retain warmth the same way an enclosed shower does. Choose it because it suits the room and your preferences, not simply because the photograph looks uncluttered.
Sliding shower enclosure
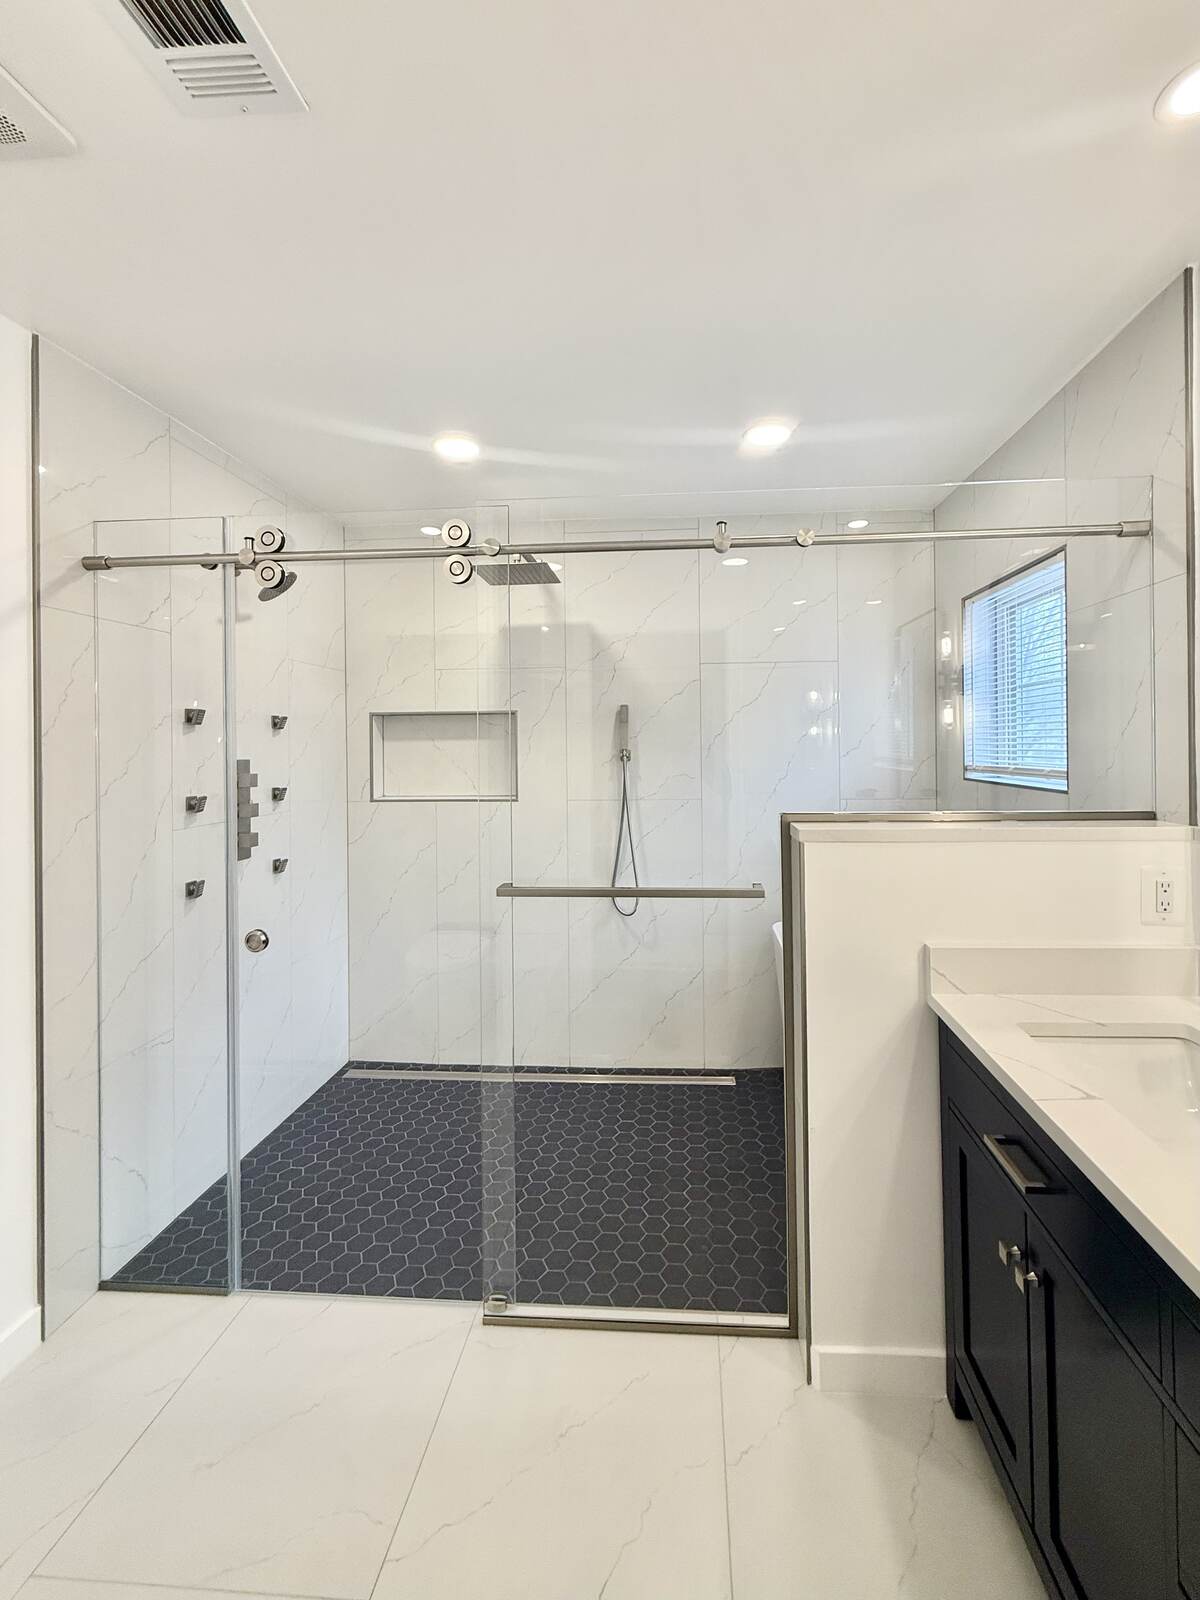
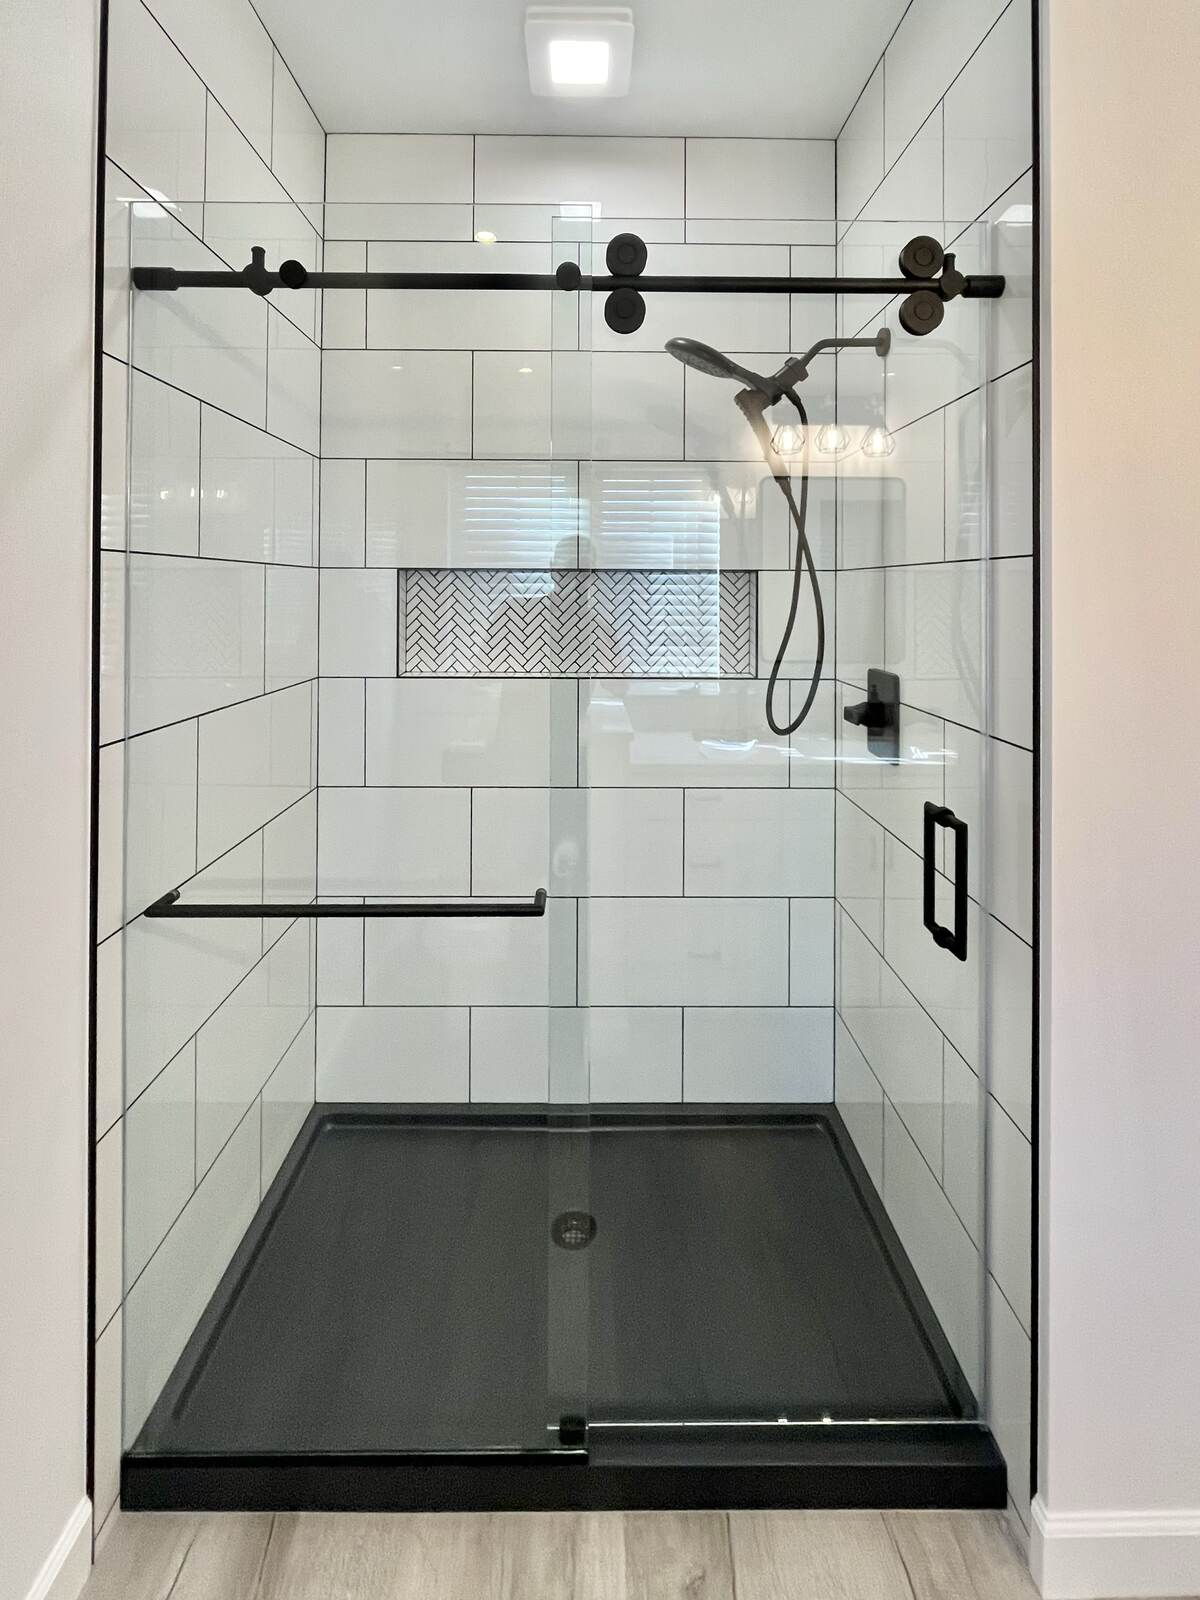
A slider moves along the opening rather than swinging into the bathroom. It can be useful where a vanity, toilet, or narrow floor plan limits swing clearance.
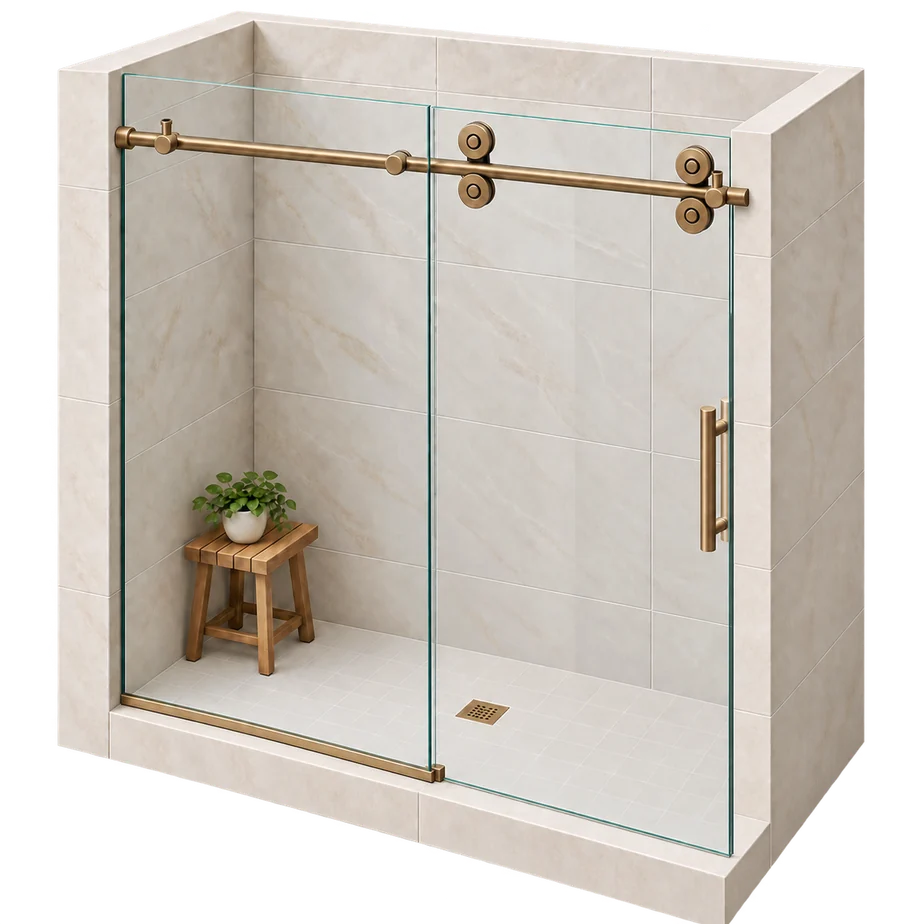
Sliding systems differ. Some use one moving door and a fixed panel; others have two moving panels. Headers, rollers, handles, and bottom guides vary by system, and those details affect both appearance and use.
Pay attention to the entry opening after the panels overlap. The overall shower width is not the same as the space you walk through. A slider needs enough width for its hardware and a practical entrance.
When comparing options, review the actual sliding system. “Frameless slider” alone does not tell you which components will be visible.
Slider over a tub
A tub slider uses the same basic sliding motion but mounts over a bathtub. It keeps the door movement within the tub opening and can replace a curtain without needing swing clearance.
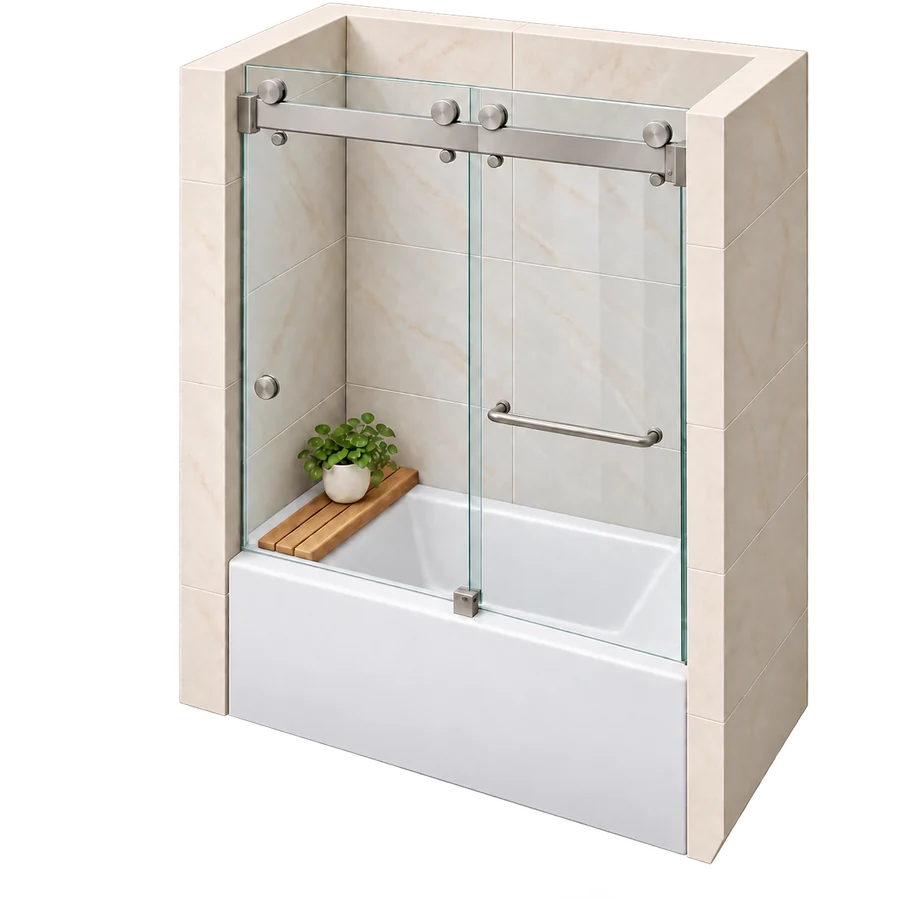
The tub needs to be suitable for the selected system. The width and shape of its rim, available mounting surfaces, and the surrounding walls all affect the design.
Consider how the tub will be used, too. Access for bathing children or cleaning the tub may matter more than it would in a shower-only enclosure. Choose the panel arrangement and hardware with those daily tasks in mind.
Floor-to-ceiling glass
Full-height glass creates a more enclosed appearance, but extra height brings more glass, more weight, and additional fitting considerations.
For an ordinary shower, taking the glass to the ceiling is a design choice rather than a requirement. Think about ventilation, cleaning access, ceiling finish, and whether that height adds something useful to the room.
We generally discourage enclosing a shower to an untiled ceiling. If full-height glass is part of your plan, discuss the surrounding finishes with us and your contractor before they are completed. Simply extending the glass upward does not make the room suitable for prolonged moisture exposure.
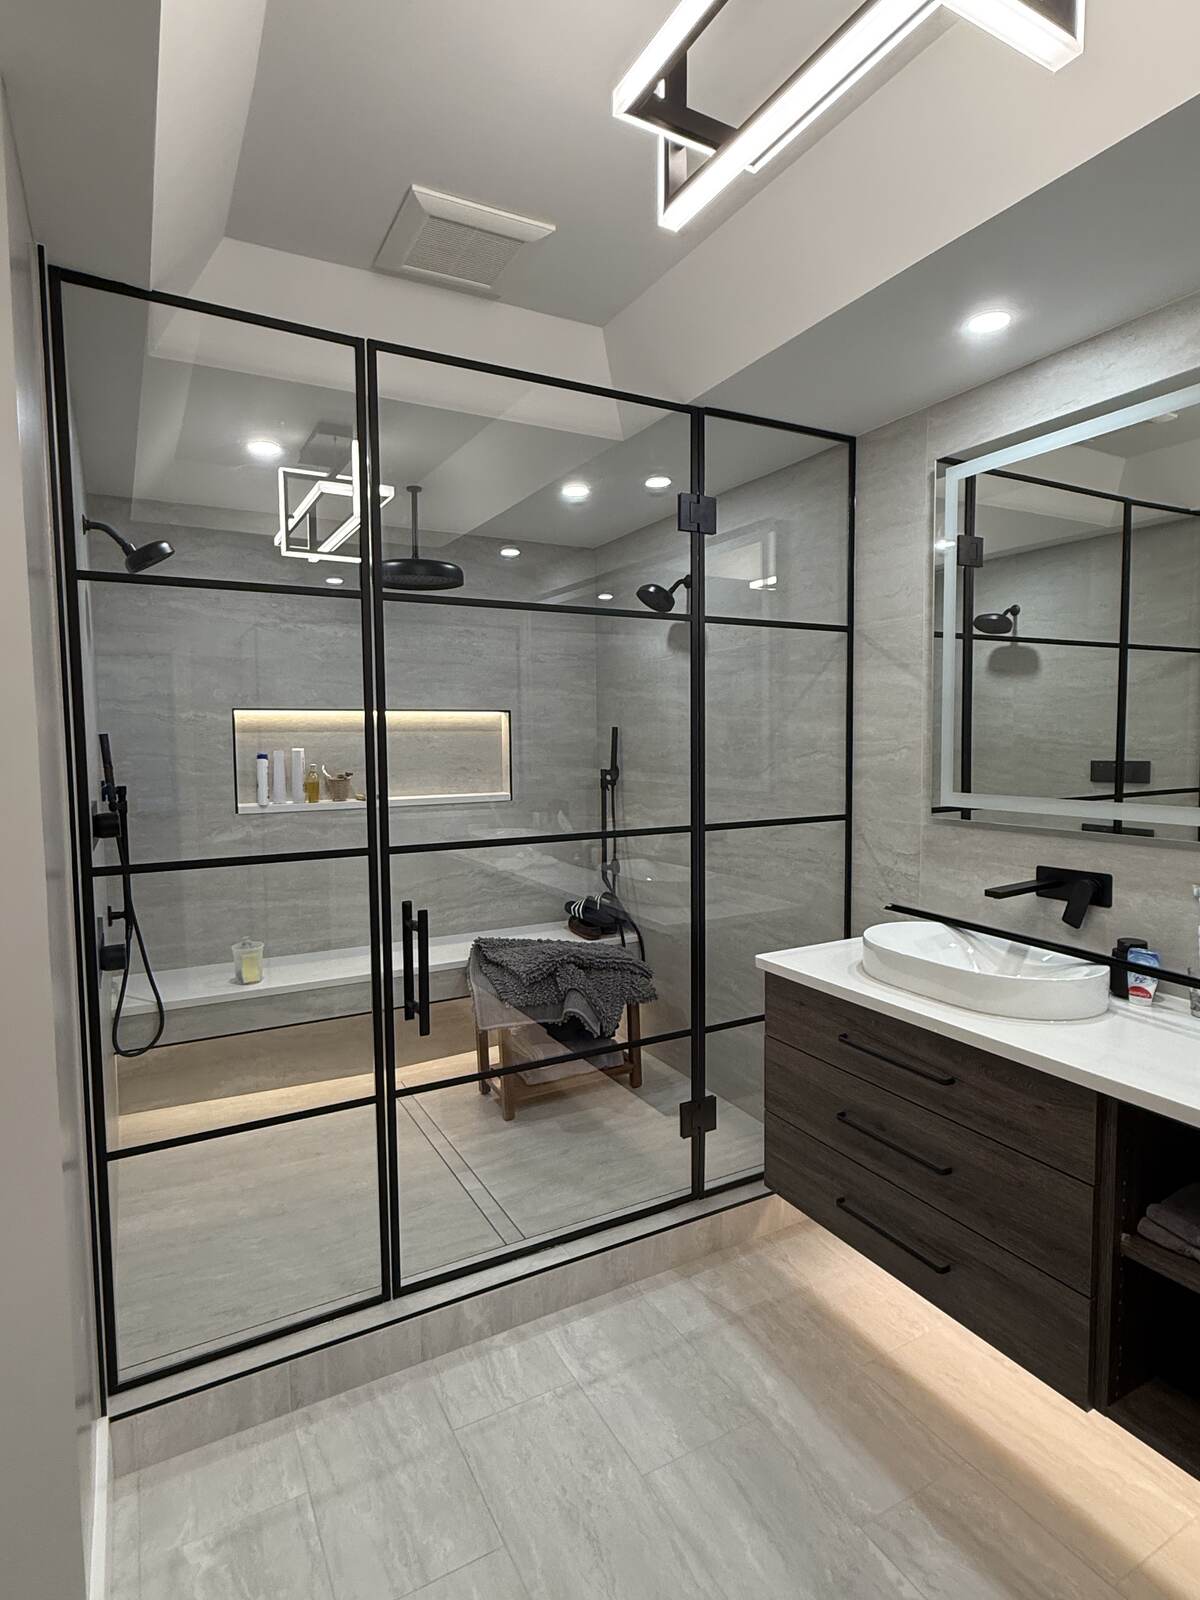
Steam enclosure with an operable transom
A steam enclosure is designed to retain steam as part of a properly built steam shower. It commonly includes full-height fixed glass, a door, and an operable transom above the door.
The transom is a separate section that can open to help release steam after use. Its location, operation, and reach should be considered with the rest of the enclosure.
The glass is only one part of the steam shower. The surrounding construction, moisture protection, ceiling, and equipment need to be designed for steam use by the appropriate trades. An ordinary shower does not become a complete steam shower simply by adding taller glass.
Bring us into the discussion early so the glass layout can be coordinated with those decisions.
What about swing doors versus pivot doors?
These terms describe how the door operates, rather than the overall enclosure shape. A side-hinged door turns from hinges along its side; a pivot system turns around a pivot axis, commonly supported at the top and bottom.
Either approach needs the right clearances and mounting conditions. The choice also affects the visible hardware and how the door travels through the opening. We work through that with the selected system rather than treating the hinge style as a cosmetic swap after the glass is made.
How we narrow down the options
Before choosing the final configuration, we look at:
- The clear entrance space and door travel.
- The position of the showerhead and controls.
- Nearby toilets, vanities, towel bars, and doors.
- Benches, knee walls, and projecting stone caps.
- Finished wall and curb conditions.
- The support required for the selected glass and hardware.
- Ceiling height and whether this is a conventional or steam shower.
A photo and rough measurements are useful for the first conversation. Final field measurements establish the dimensions needed for fabrication.
Glass thickness and budget
We commonly use 3/8-inch glass for frameless enclosures. The selected system may call for a different thickness, and the glass size, weight, and hardware must work together. Choosing thicker glass alone does not solve a support problem.
Most residential frameless enclosures we install fall between $1,500 and $3,500 installed. Simpler door-and-panel layouts generally sit toward the lower end, while more customized designs can reach the higher end or exceed it. Size and upgrades can change that comparison.
Our cost guide explains what is included. If you are deciding between two layouts, send us both. We can help you compare how they will function in your bathroom as well as what they will cost.